


 Beauty Care
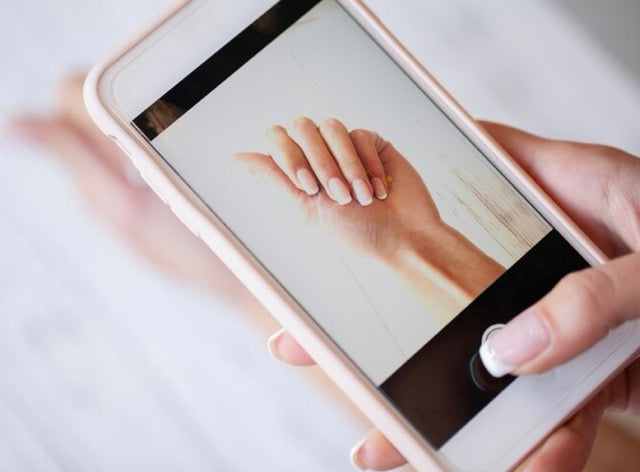
Whether you want to change your manicure or simply have grown out of it, the question probably arises: "How can I remove gel polish at home?" This might seem a bit complicated, so OPI Instructor Sigourney Nunez has created a step-by-step guide.
- Use a nail file to break the seal on the free edge and side of each nail. The point here is to remove as much gel polish as possible, but don't file it down to the natural nail. Light pressure is ideal.
- Wet a cotton pad with nail polish remover, place it directly on top of the nail, making sure it covers the entire surface of the nail, then wrap both the cotton pad and the nail with aluminum foil.
- Let it soak for at least 15-20 minutes. If you want extra warmth, wrap a towel around your hands, just make sure you turn on your favorite Netflix series beforehand. As desirable as it may be, be careful not to peek! Let the cleanser have its time and leave enough time for the gel to dissolve.
- After about 15 minutes, slowly begin to remove the aluminum foil and cotton ball from each nail. The cotton pad or tampon should already contain a fairly large amount of jelly residue.
- Use a nail care stick and gently push off the remaining gel residue from the surface of each nail, starting from the nail bed area towards the free edges.
For nails that still have residue after using the nail care stick, repeat the steps. Once you have completely removed all the residue, clean the surface of the nail with a cotton pad (or pad) and gel polish remover. Don't forget to apply the nail care oil to keep your nails protected and hydrated!
Use a nail strengthener!
Improper removal can seriously damage your nails, which can be painful! That's why we recommend using your favorite nail strengthener like OPI Nail Envy as a final step to ensure your nails stay as healthy as possible... until we can all get back to our favorite salons.
How to remove gel nail polish without acetone:
If you don't have acetone nail polish remover, there is an alternative solution that can work as a temporary solution. Although we don't recommend this as an everyday technique because it thins your nails, you can do it by taking a medium-coarse nail file to remove the top coat and color layers. Once you get to the base layer, switch the file to a buffer to smooth everything out. Remove the dust with a manicure brush, then wipe with alcohol and a cotton swab. Don't forget to moisturize your nails with nail oil as the last step.
Source: opi.com


Share:
Which nail bed colors are suitable for which skin type during construction?
Nail Trends - Fall 2023